Table of content
What did you get for Christmas ?
It’s this time of the year again: Christmas, friends and families around a good meal, sharing gifts. This year for Christmas I got COVID-19 Yay !!
Let’s stay positive
But this let me do something I wanted to do for a long time: generative art.
You might be wondering WTF is this ? Well Generative art refers to art that in whole or in part has been created with the use of an autonomous system.
Before starting
Because I try to improve my Rust skills I want to do this project in rust.
So we, (mostly I to be honest, but you can follow along) will be using Nannou and Rust.
Install the tools and let’s get started
I use cargo edit to install dependencies, the second line is optional, but I like to manage everything with cargo, feel free to install nannou the old way
|
|
Cargo add uses the latest version available on crates.io currently this is 0.18.1
What do we do ?
The plan is straightforward, I’m going to have particles in a field and draw their movement to the screen.
We will create the field using a noise function. These functions output random values, but if two inputs are close to each other, their two output will also be close, in other word it’s a smooth random function.
Let’s get started
There is a lot of example in the Nannou repo, but there are two folders with lots of interesting stuff.
The basics
Nannou is based on an MVC design.
|
|
This is the basic starting point for a Nannou app. It simply defines a view, a model and an event function. We can get rid of the event function because we won’t have any.
We will start by drawing for each point the direction of the field at that point. But what is the direction of a field ? We can compute the noise function at (x, y) and make a unit vector rotated by the result of the noise(x, y). With this setup we have a direction that doesn’t change too much between two close points (because remember that for two close inputs, we have to close outputs).
Nannou works by updating the model in the update function and then rendering it with the view function, classic MVC. We can define the model like that:
|
|
- Particles : the particles in the field.
- The noise is a Perlin struct it can be used to compute the value of the Perlin noise at a given position.
- size : the size of the window.
- scale is simply a ratio used during calculation z_offset is fascinating, because the noise function always gives the same output for a given input, we don’t have much change happening. Instead of considering a 2D Perlin noise, we can use a 3D Perlin noise and say that the 3rd component is the time value ! How exciting ! Therefore, we use z_offset to save the time value and increment it at each frame.
We now need to define the particles, we will do a neat trick, we will store the previous position and draw a line between the old and new position, like that if the particle moves a lot, there isn’t any gap in the drawing. With that we need to store the velocity and the acceleration. Here is the result.
|
|
We now want to implement the constructor and the behavior of our particles in rust we do that with an impl block.
|
|
This creates a function called new that returns a particle with no velocity, no acceleration at position x, y.
We can add in the impl block, the update function. It’s quite easy, basically the acceleration is added to the current speed, the speed is limited to a maximum, and we update the position using the speed. We also check to see if a particle is out of the window, if so, we say that it re-enters by the other side.
|
|
This is straightforward. We modify the position according to the speed: self.position += self.velocity; We check the boundaries of the windows and if the particle is out of the window, we say that it re-enters by the other side.
There is also another function,apply_force that we can add to the impl block. This allows us to apply a force to the particle.
|
|
This simply accelerate the particle using the force force. The speed is updated in the update function using the acceleration.
Therefore the force changes the acceleration, the acceleration changes the speed and the speed changes the position.
We can add a method that show the particle :
|
|
Things are getting better
Here we are using the Draw struct, we draw a line from the start to the end as self.prev_position,self.position. Self is the keyword in rust to refer to the current struct (equivalent of this in C++). We then say that we want a stroke weight of 0.5 and a colour given in RGBA (RGB alpha) the colour is a nice rose.
The alphas add up when multiple lines cross themselves, this gives a nice effect. We should now initialize the model, but before we should set up a few constant :
- NUM_PARTICLES : the number of particle we simulate
- WIDTH, the width of the window (1200.0)
- HEIGHT, the height of the window (800.0)
- SEED, the seed used to seed the perlin noise (42) With that set we can fill the model function:
|
|
We can now implement the update function this will compute the force at the position of the particle at the time z_offset (taken from the model). The force is a unit vector rotated by the value given by the noise function. There are a few small tricks,
When we compute the noise value, the x, y & z parameter must be in the range [0,1]. That’s why I scale down the x, y position. The second one is in order to have all the direction possible when rotating my unit vector, I multiply the Perlin noise value by TAU (2π) to be sure to have vectors pointing everywhere.
|
|
And now the view function : Here we do another trick, in order to have the alpha channel adding up, we only draw the background in black on the first frame. With that we have all we need
|
|
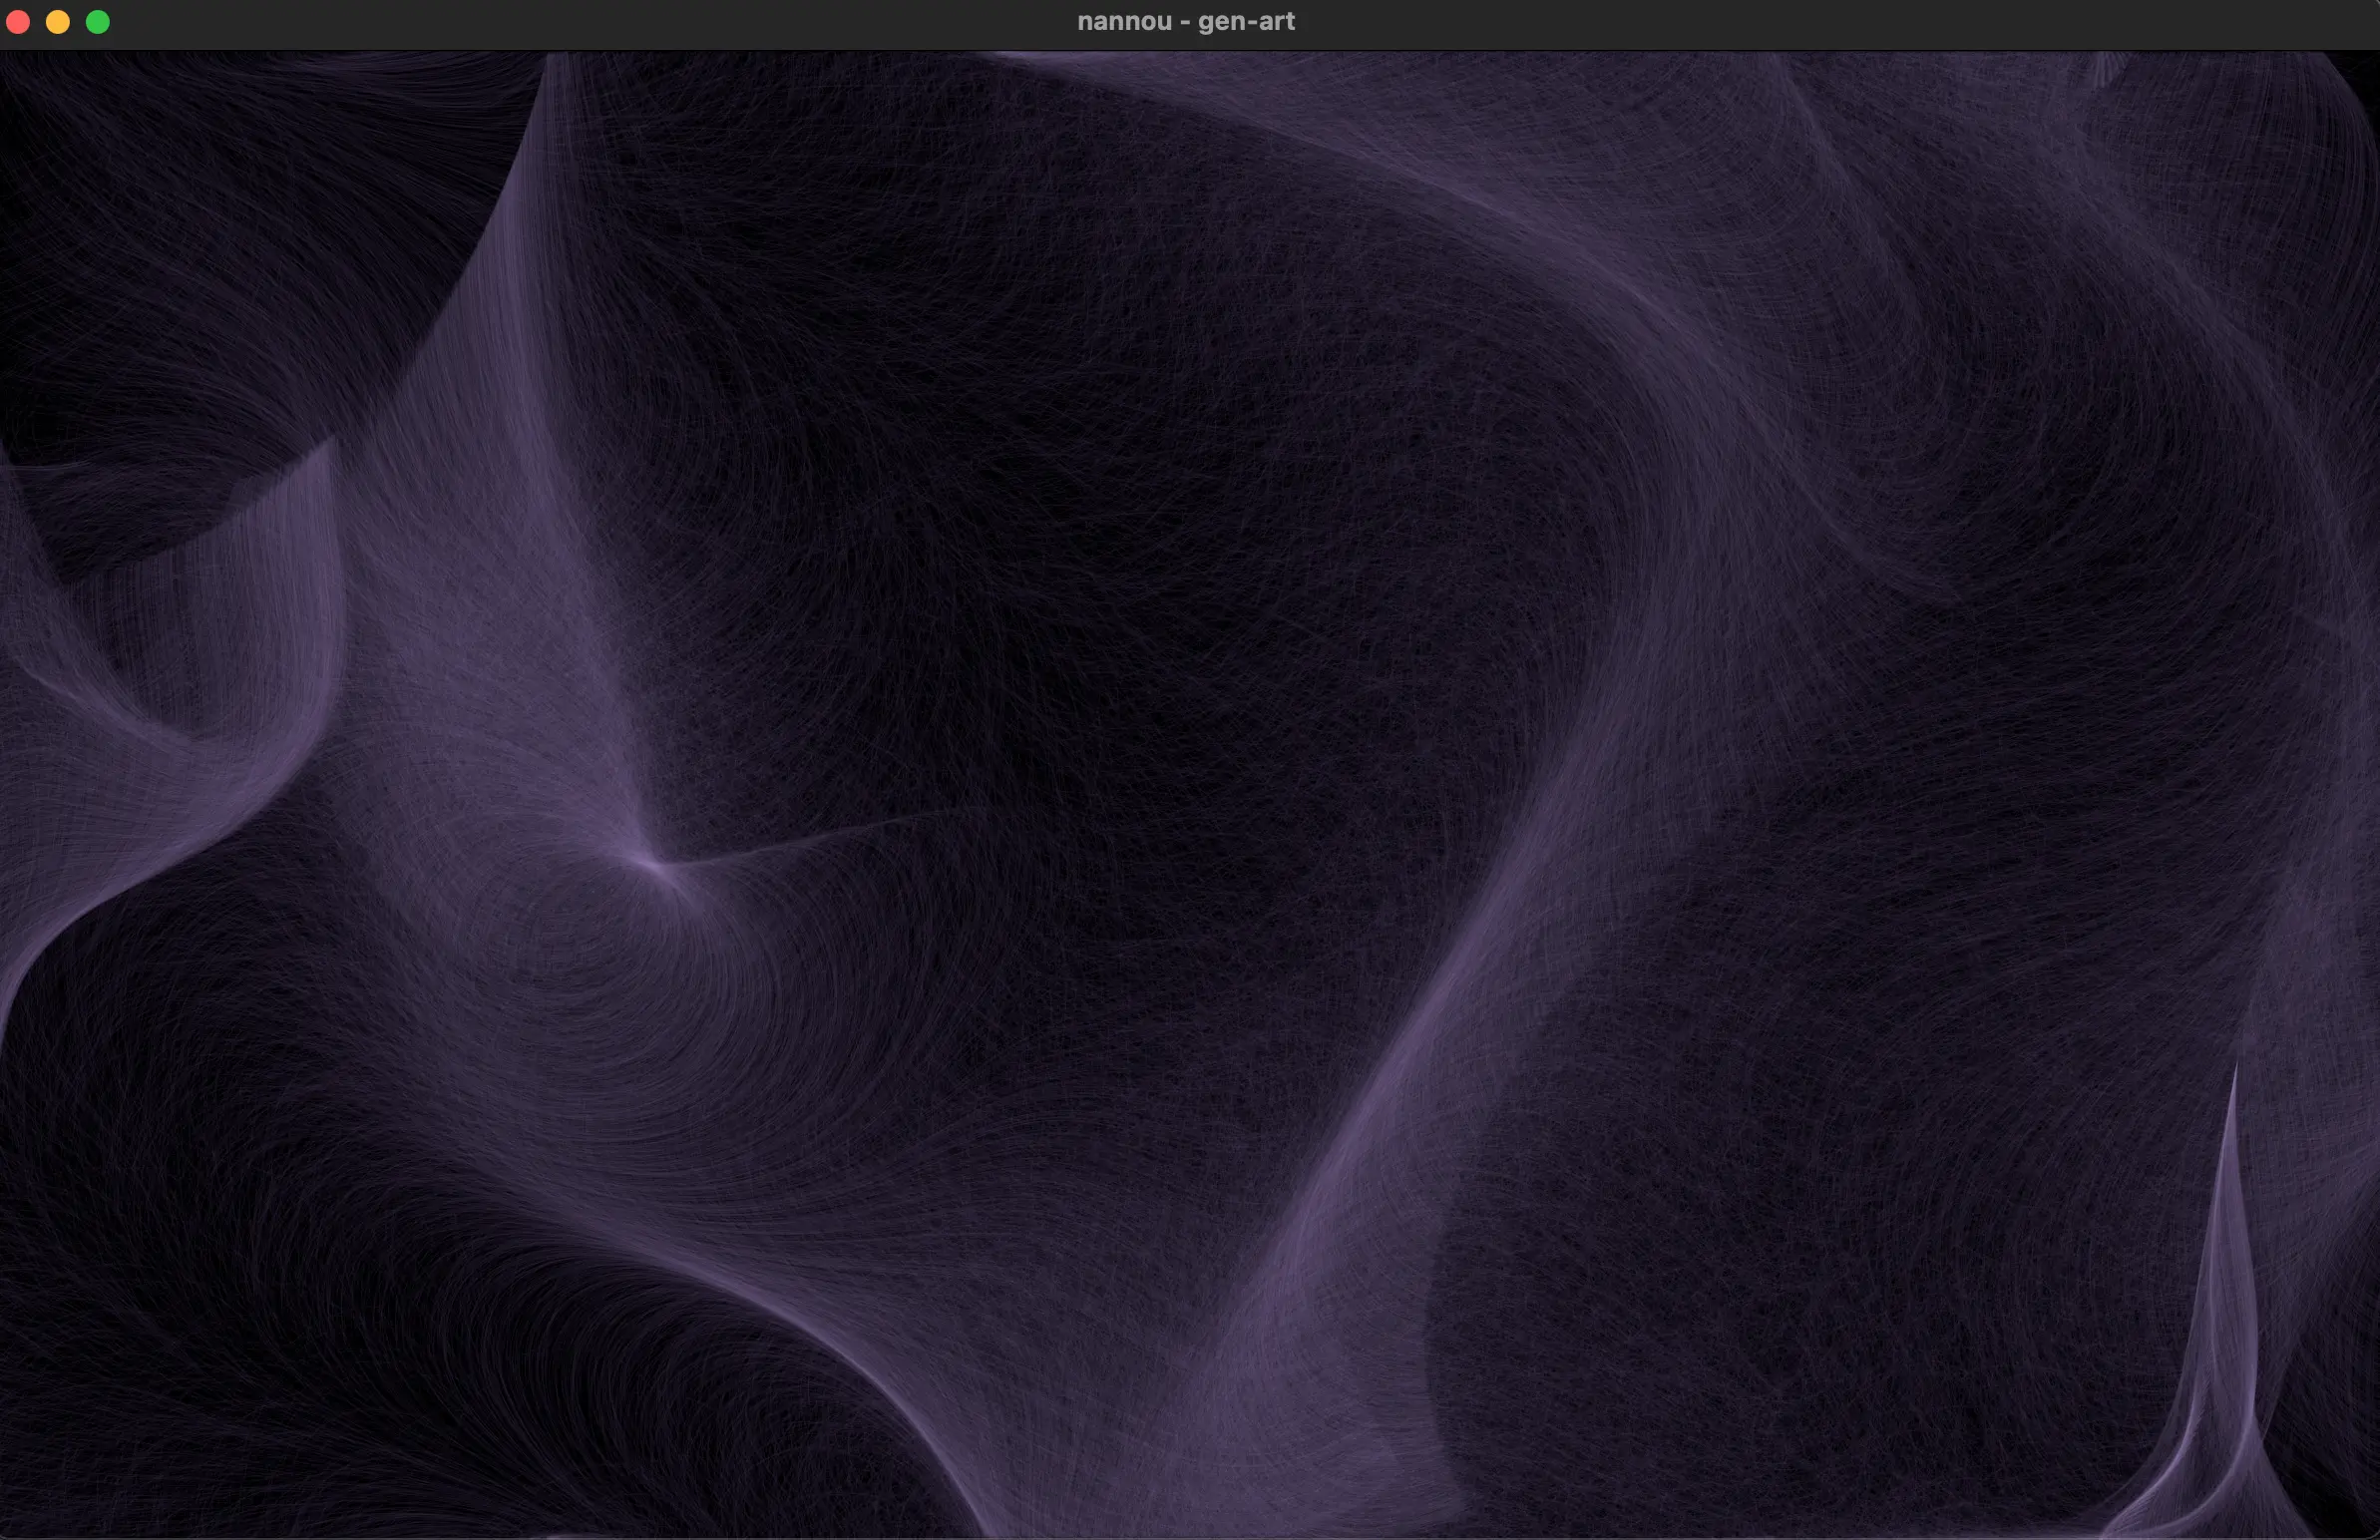
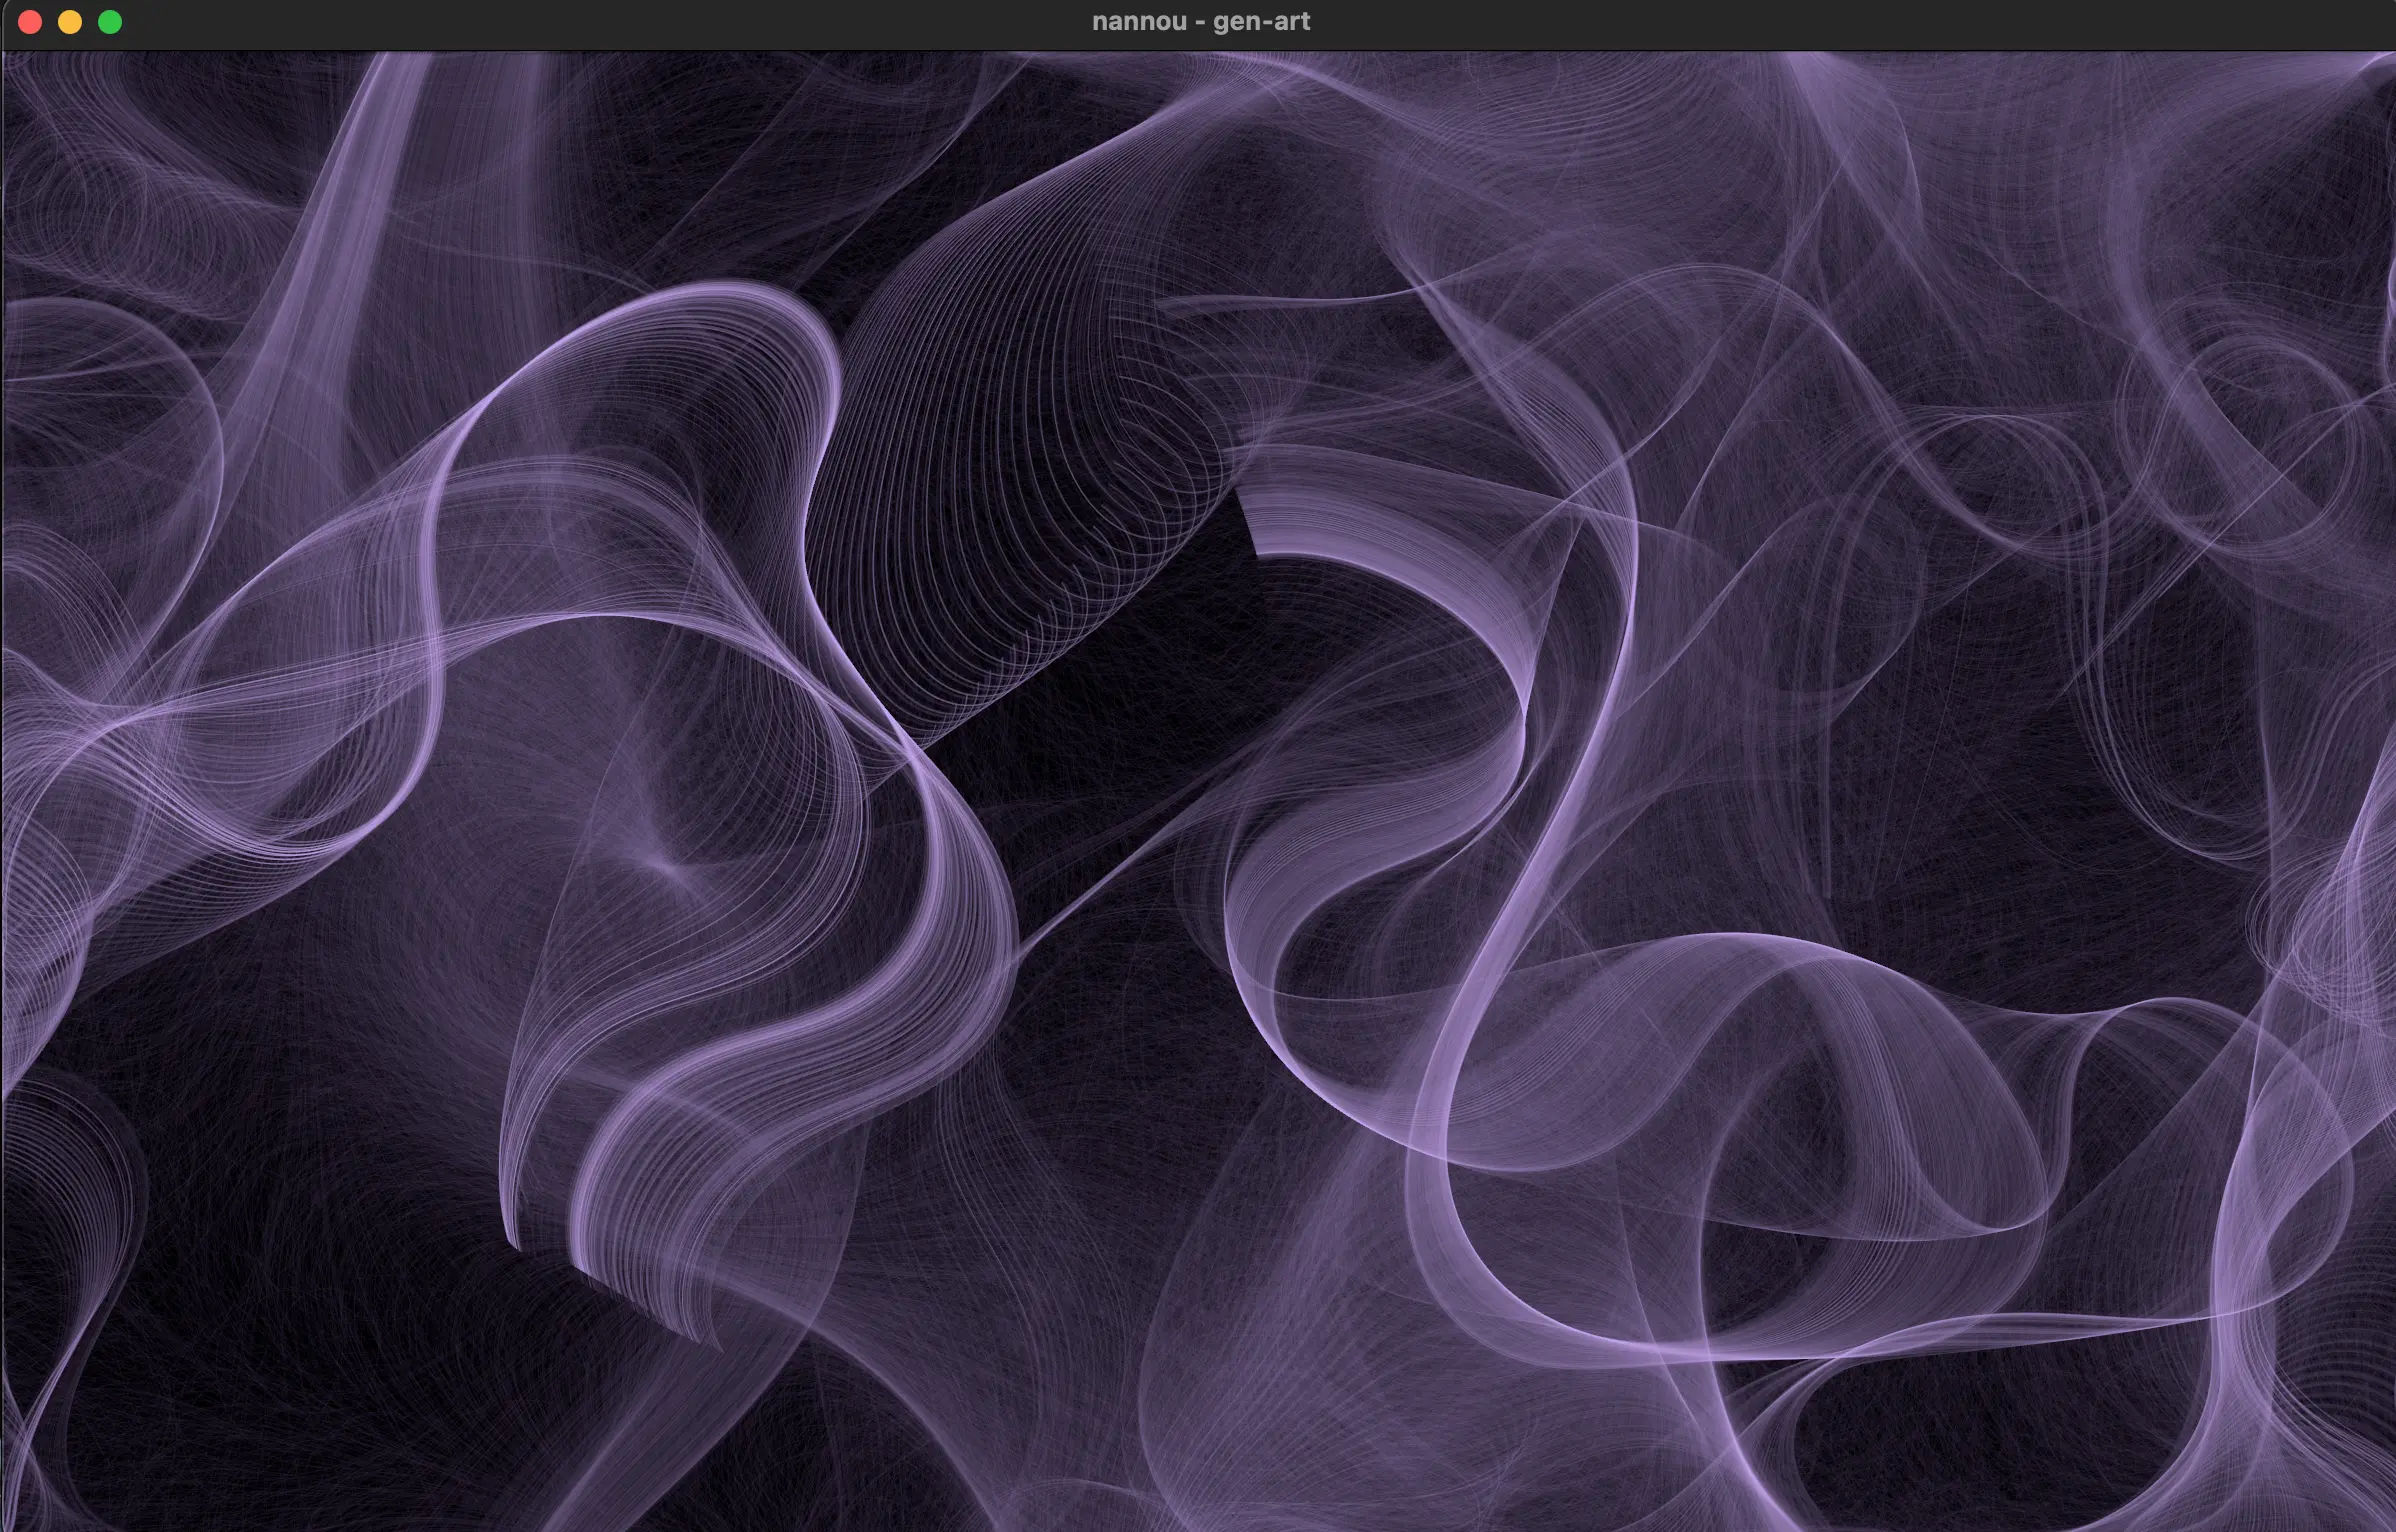
And here are the results :

 This is the same drawing, there is just a slight delay between the first screenshot and the second, ~10 seconds
Hope you liked this adventure stay tuned for more !